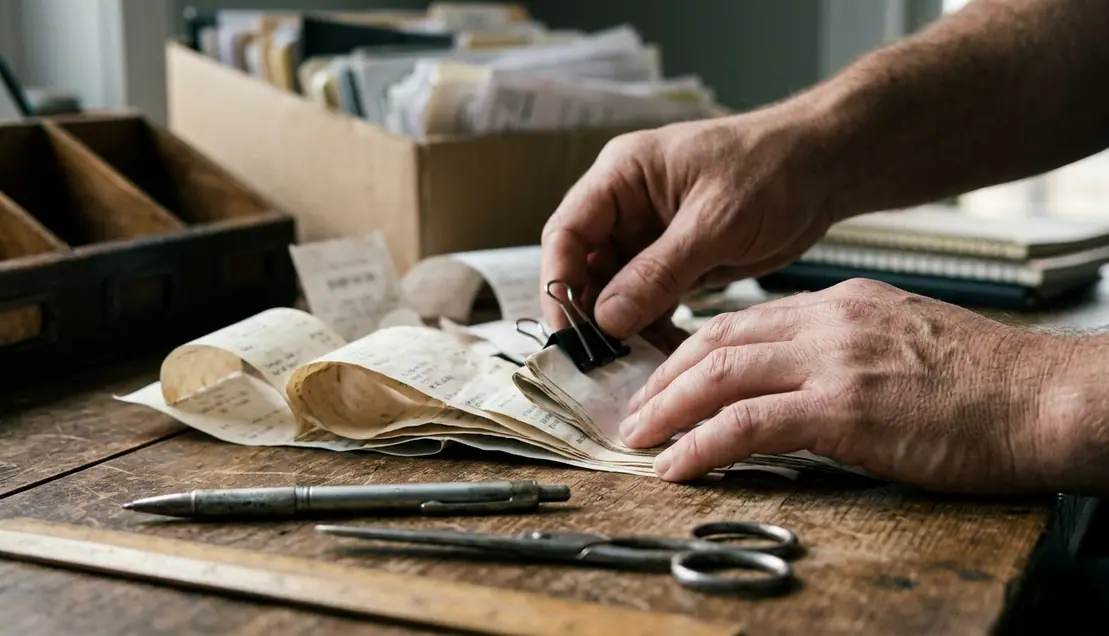

A Lost Receipt Can Turn a Refund Into Store Credit
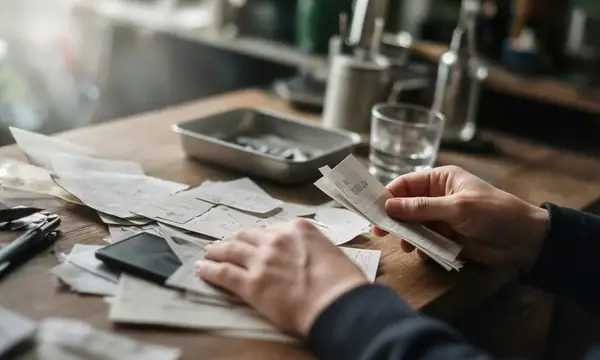
You know the moment: the jacket still has its tags, the blender sounds wrong, or the online shoes never quite fit, and the receipt has vanished.
The purchase was recent. You can picture the checkout lane. You may even remember which card you used. But the paper receipt is not in your wallet, the email confirmation is buried under delivery updates, and the store app wants you to sign in before it will show anything useful.
That small delay can change the outcome. Standard retail return windows often run from about two weeks to three months, depending on the product, category, and seasonal policy. Miss the window and a clean refund can turn into store credit, an exchange, or no return at all.
Receipts also matter after the return period ends. They can prove a warranty date, support a reimbursement, explain a budget spike, or show what was actually bought when a product code on a statement is too vague to help.
Main Point: A receipt tracking system should be simple enough to use after every purchase, including the tired Tuesday night purchases when nobody wants to scan, rename, tag, and archive anything.
The system has to survive busy weeks
A perfect receipt archive is not the goal. A system that catches the receipts worth saving, reminds you before deadlines pass, and clears out junk before it becomes clutter is much more useful.
The best setup feels almost boring. That is a compliment.
The Simple System: Capture, Label, Remind, Review
The receipt system that holds up in real households has four parts: capture every useful receipt, label it so it can be found, set reminders for deadline-sensitive purchases, and review the pile once a week.
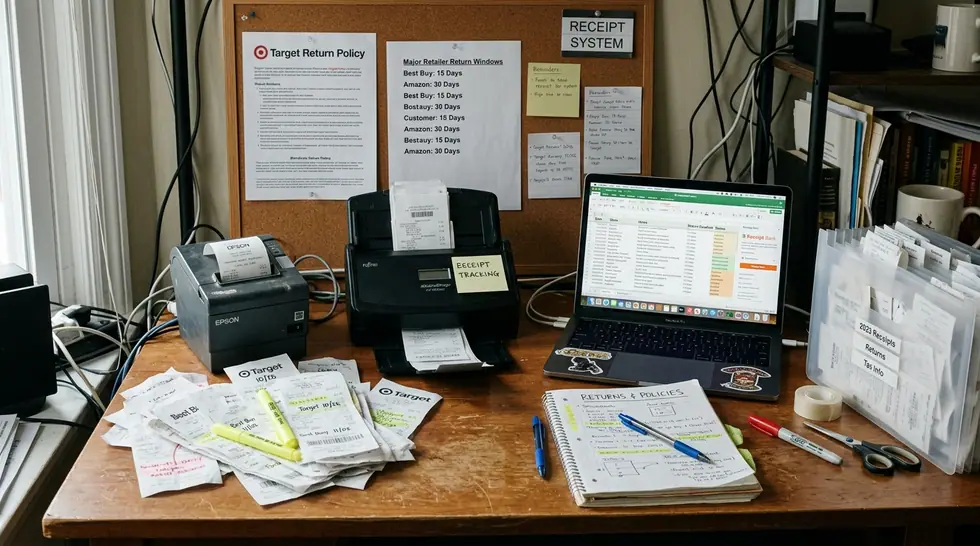
Two lanes beat one giant archive
Think of your receipts in two lanes. The first is the short-term return lane: clothes, gifts, electronics, home goods, duplicate purchases, online orders, and anything you may take back soon. The second is the long-term proof lane: warranties, reimbursements, insurance-related purchases, big-ticket items, and household records.
This matters because those lanes behave differently. A return receipt needs attention fast. A refrigerator receipt may sit untouched for years, then become important when a warranty claim starts.
Initially, the most tempting answer is to scan every receipt into an OCR app and build a complete digital record. That sounds tidy, but high-friction OCR workflows often get abandoned within a week or so because correcting text errors turns into a second job. For most shoppers, the better rule is narrower: save what can protect money, time, or proof.
Caution: Do not turn receipt organization into a hobby unless you already enjoy maintaining records. The system should reduce decisions, not create more of them.
What this system is not
It is not a demand to scan every coffee receipt forever. It is not a complicated spreadsheet unless spreadsheets already fit your brain. It is not a guilt project sitting next to the mail pile.
This is a small workflow built around the moments when receipts usually disappear.
Step 1: Choose One Inbox for Every Receipt
The first question is simple: where does every receipt go before you decide whether to keep it?
Choose one physical inbox and one digital inbox. That is enough. For paper receipts, use a labeled envelope, a small tray, a receipt pocket in your wallet, or a zipper pouch near the door. For digital receipts, use a dedicated email folder, cloud folder, or receipt app.
Loose receipts usually fail because they spread. One is in a coat pocket. Two are in the car console. A pharmacy receipt is folded into a grocery list. The online order email is mixed with shipping notices, discount codes, and password resets. Under a return deadline, that scattered setup costs patience first and money second.
What belongs in the inbox
- Paper receipts from grocery stores when an item may need a return or price adjustment.
- Clothing and shoe receipts, especially for try-on purchases.
- Home improvement receipts for tools, fixtures, paint, and hardware.
- Pharmacy receipts tied to flexible spending, reimbursement, or household records.
- Online order confirmations and pickup emails.
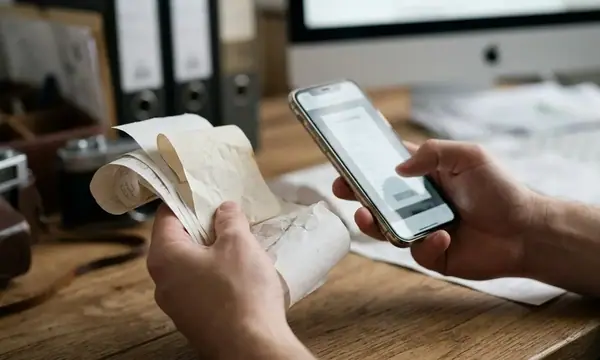
- App-based store receipts that need to be exported, saved, or screenshot before they get buried.
Clearing loose receipts from a wallet or purse into a designated physical inbox usually takes a minute or two when done right after arriving home. That timing matters. If you wait until the end of the month, every receipt becomes a small mystery.
Expert Tip: Put the physical inbox where bags actually land, not where you wish bags landed. A tray beside the kitchen counter beats a beautiful folder in a hallway cabinet nobody opens.
Step 2: Label Receipts So Future You Can Find Them
A receipt without a label is still a search problem.
For digital receipts, use a fast naming format: retailer, item or category, purchase date, and return deadline if known. Put the retailer and deadline near the front so sorting helps you instead of hiding the urgent items.
A naming format that works
- Target - kids coat - Nov purchase - return deadline checked
- Best Buy - headphones - warranty proof
- IKEA - bookcase - pickup order - keep for assembly issue
- Home Depot - faucet - warranty proof - receipt saved
The label does not have to be elegant. It has to answer the question you will ask later: where did I buy it, what was it, and why did I save this?
For paper receipts, write the item and deadline on the top edge before filing. Many receipts list unclear product codes, and thermal paper often fades into illegibility within a few months when exposed to heat, light, or friction inside a wallet.
Caution: Use a regular pen when writing on the receipt edge. Alcohol-based markers can speed up fading on thermal paper and may destroy the printed text beneath the ink.
The beginner version is enough
If you are starting from a messy drawer, do not rename a year of old receipts. Start today. Label the next receipt that has a return deadline or warranty value, then build forward from there.
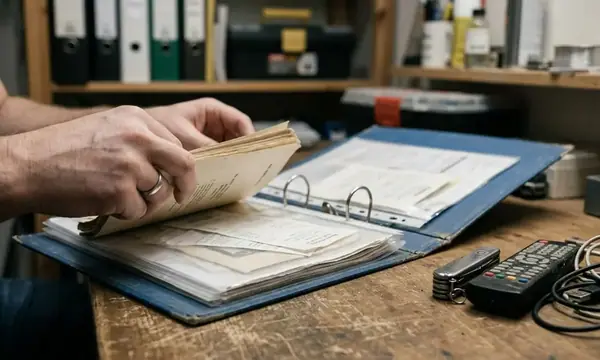
The advanced version is simple too: create two digital folders called Return Window and Warranty Proof. Move receipts out of Return Window during the weekly reset once the deadline passes or the item is settled.
Step 3: Set Return Deadline Reminders Before the Bag Is Put Away
Return reminders belong at purchase time, not when the item starts bothering you.
By the time a sweater still has not been worn, a toy is missing a part, or a duplicate gift is still sitting in the entryway, the deadline may already be close. A reminder set at checkout gives you a buffer while the purchase is still fresh.
Use a reminder formula
Use this format: store name, item, action needed, and reminder date before the actual deadline.
- Target - kids coat - try on and decide - remind before return deadline
- Zappos - boots - confirm fit before box is recycled
- Best Buy - headphones - test battery and sound
- Amazon - duplicate gift - return or keep by reminder date
For deadline-sensitive items, set the alert a couple of days before the actual return deadline. That buffer helps when a store closes early on a weekend, a shipping label takes time, or a package has to reach a return center.
Retailer wording still controls the final deadline, especially when product categories or holiday rules change, so use the receipt or order page as the source for the reminder date.
Purchases that deserve reminders
- Gifts, because the recipient may not open or test them right away.
- Online orders still in transit, because the return clock may not feel obvious.
- Try-on items, especially shoes, coats, and formalwear.
- Duplicate purchases made to compare sizes, colors, or models.
- Products that need testing, such as electronics, appliances, and tools.
Expert Tip: If a store often has shorter return windows for electronics during busy seasons, do not reuse a static 30-day reminder. Check the receipt and set the alert from the actual policy on that purchase.
Step 4: Keep Only Receipts That Earn Their Place
Not every receipt deserves a long-term home. Keeping too much makes the useful receipts harder to see.
Track receipts that can protect a refund, prove ownership, support a claim, or explain a household expense. That usually includes returnable purchases, expensive items, electronics, appliances, furniture, gifts, insurance-related purchases, reimbursements, and warranty claims.
Receipts worth keeping
- Electronics and appliances with warranty coverage.
- Furniture, mattresses, fixtures, and home improvement materials.
- Gifts that may need exchange proof.
- Work, school, medical, or volunteer expenses that may be reimbursed.
- Insurance-related purchases after damage, repairs, travel disruption, or replacement needs.
- Large household purchases you may need to verify later.
Manufacturers often require proof of purchase soon after a consumer discovers a product defect to start a warranty claim. A credit card statement may show the store and amount, but it often lacks the item description, SKU, model, or purchase details needed for approval.
For a consumer-facing source on warranty basics, the FTC warranty guidance is worth saving alongside your own warranty folder.
Receipts you can usually let go
Routine low-risk purchases can often be discarded after the budget is updated, as long as there is no return, warranty, reimbursement, or household record value. A finished snack run does not need the same treatment as a laptop, a winter coat, or a replacement faucet.
Main Point: The question is not, “Could I save this?” The better question is, “What job would this receipt do later?”
The Weekly Reset That Keeps the System Alive
The weekly reset is where the system becomes a habit instead of a pile.
Daily receipt management sounds efficient, but it can feel like a constant interruption. A weekly batch of five to eight receipts is usually easier to treat as one small administrative task, and the reset often takes only a few minutes once the inboxes are in place.
The 5-Minute Weekly Receipt Reset
- Empty your wallet, purse, coat pockets, and shopping bags of paper receipts.
- Move digital receipts from the main inbox into a dedicated Receipts folder.
- Write return deadlines on the top edge of physical receipts using a regular pen.
- Set reminders for returns, exchanges, gifts, online orders, and products that still need testing.
- Move warranty and reimbursement receipts into their long-term folder.
- Discard receipts that no longer serve a return, warranty, reimbursement, budget, or household record purpose.
Attach the reset to something already happening in the house. Grocery planning works. So does bill review, Sunday bag cleanup, or the moment when school papers and mail are already on the table.
The first reset may feel slightly awkward because you are deciding what the system means. The second one is faster. By the third, the receipt inbox starts to look less like clutter and more like a small queue with an end.
Expert Tip: Keep one folder named Return Window and one named Warranty Proof. Those names are plain, but plain names win when you are searching under pressure.
Set up the two inboxes today: place one envelope, tray, or pouch where your shopping bags land, create one digital folder named Receipts, and process the next purchase before the bag is put away.