In this Article
- The phone habit that keeps receipts usable when return deadlines get close
- How to set up one capture method before checkout
- The document-style photo technique that makes small receipt text readable
- Which receipt details return desks actually check
- A 60-second naming and filing routine
- How to handle faded, crumpled, email, and pickup receipts
- A copyable two-minute routine for a holiday gift receipt
The Best Receipt System Starts Before You Need the Receipt
The most reliable receipt system is not a fancier app. It is a repeatable phone habit you can do while the receipt is still warm from the printer.
Most receipt problems start fast. Receipt damage or loss usually happens within the first minute or two after the transaction completes: the cashier hands it over, the bagger folds it into a shopping bag, a child asks for a snack, the parking lot is dark, and suddenly the only proof of purchase is a curling strip of thermal paper somewhere under the bananas.
I think about this most during holiday returns. A jacket bought in November becomes a January errand. A gift receipt hides in tissue paper. An online order pickup produces one email, one app notification, and sometimes a store receipt with different return information. Then the associate at the counter asks for proof, and the whole return depends on whether the receipt photo shows the right lines.
Main Point: Build the habit for the first minute after purchase. That is when receipt organization succeeds or quietly falls apart.
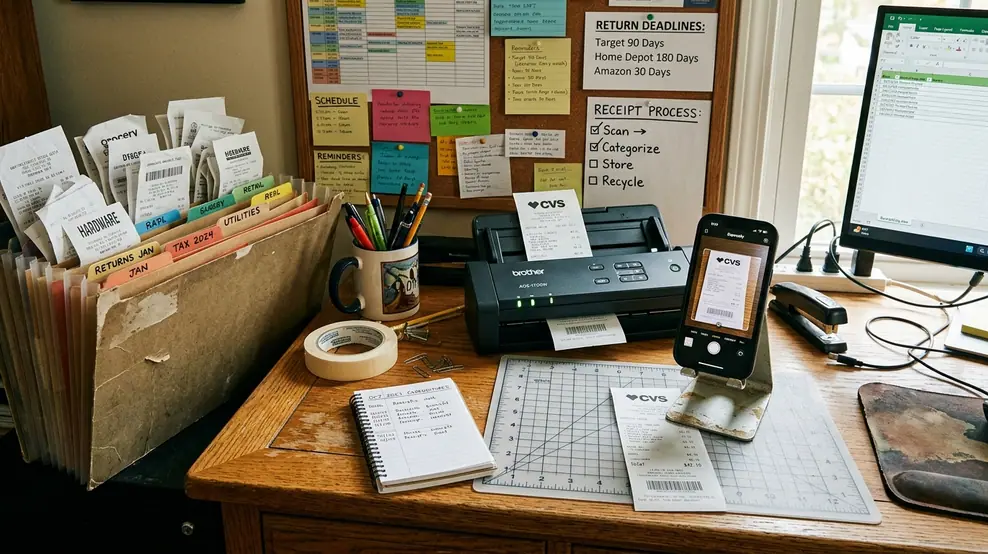
Prepare Your Phone Before the Receipt Exists
The common question is simple: should you use a receipt app, your camera, a notes scanner, or a cloud drive scanner?
The practical answer is to choose one default before you shop. Do not decide at the register. Your options are all workable: the phone camera, the built-in document scanner in a notes app, a cloud drive scanner, or a dedicated receipt scanning app. The best choice is the one you will open without thinking while a line forms behind you.
A dedicated app can help with tags, return reminders, and search. That matters if you manage a lot of household purchases, warranty items, school supplies, or reimbursable expenses. The default camera is faster when you are standing near the checkout lane with bags in your hand; native camera capture can take just a few seconds, while third-party scanning apps may take noticeably longer before the image is captured and saved.
That difference sounds tiny at a desk. It feels much larger beside a cart, a receipt printer, and a cashier who has already started the next transaction.
Choose one visible destination
Before the shopping trip starts, create one obvious place for receipt photos. Use a phone album called Receipts, a cloud folder called Receipts, or a running note named Current Receipts. The name matters less than visibility.
- Use the camera if speed is your main concern.
- Use a notes scanner if you want clean document edges without opening another app.
- Use a cloud drive scanner if other people in the household need access.
- Use a dedicated receipt app if tags and deadline alerts are worth the extra taps.
Expert Tip: Put the chosen app on your first phone screen before a big shopping trip. If you have to search for it, you are already adding friction.
Take the Receipt Photo Like a Document, Not a Snapshot
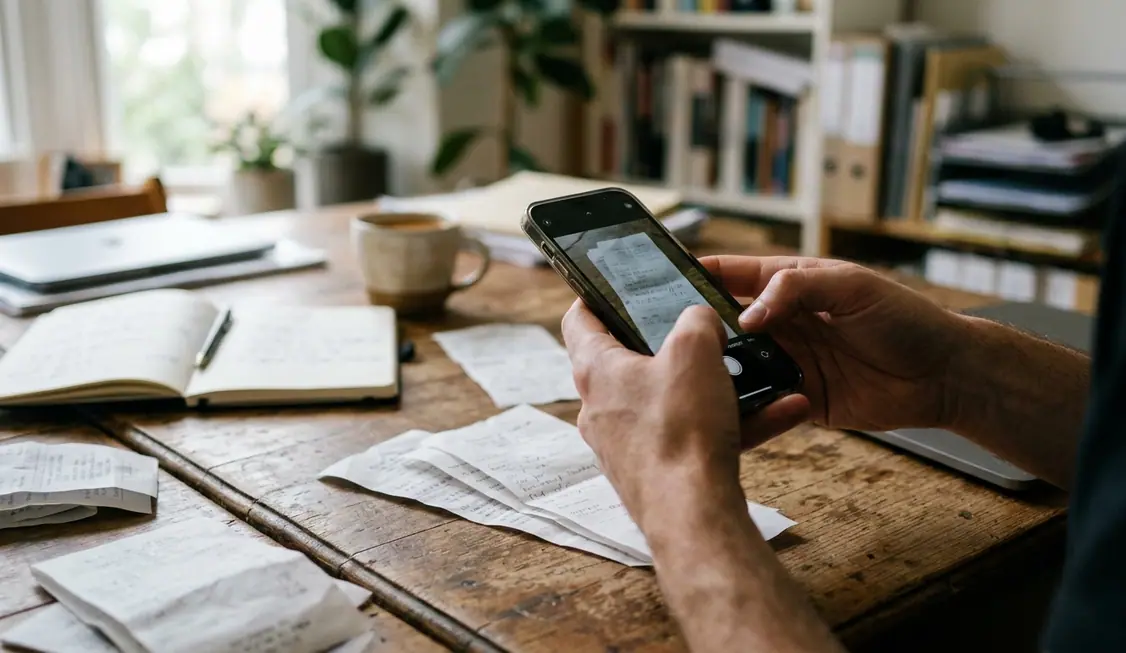
A receipt photo is not a memory. It is evidence you may need at a return desk, so treat it like a small document scan.
The capture method
- Place the receipt on a flat surface with contrast, such as a dark counter, plain tabletop, or the inside of a shopping bag turned flat.
- Smooth curled edges with your fingers before taking the shot.
- Hold the phone directly above the receipt, not at an angle.
- Keep all four receipt edges visible in the frame.
- Tap the screen over the transaction barcode or total so the camera focuses on the small print.
- Check the photo before you walk away.
Thermal paper makes this harder than it should. It curls, reflects overhead light, fades, and turns small print blurry when the phone sits too close. Thermal paper text can begin fading when exposed to temperatures in the ballpark of 85°F or to direct UV light for a day or two, which is why the sunny car dashboard is the enemy of every return deadline.
Use natural side light when you can. Indoor light is fine if it is even. Avoid glossy counters, plastic bags, and car dashboards because they bounce glare straight into the lens.
Caution: Do not photograph the receipt while holding it in midair. Your hand will bend the paper, hide corners, and make the barcode harder to read.
Make Sure the Photo Shows What Return Desks Actually Check
Beginners usually photograph the top half of the receipt because that is where the store name appears. That is a start, but it is not enough.
Return desks often need the machine-readable and transaction-specific details. Retailer verification systems may require scanning a long transaction barcode, and that barcode is often near the bottom of the receipt. If the photo cuts off the bottom edge, the image may look fine to you and still be useless at the counter.
Details to keep readable
- Retailer name
- Store location, if shown
- Purchase date
- Transaction number
- Item names or SKU lines
- Total paid
- Payment method fragment, if present
- Return barcode
- Return-policy text, if printed
Different retailers verify purchases in different ways, so a receipt photo should not be treated as a guaranteed replacement for paper. A digital photograph of a receipt cannot bypass retailer policies that explicitly require the original physical paper for large cash refunds or for high-shrinkage electronics.
Keep the original paper receipt for high-value electronics, appliances, jewelry, formalwear, seasonal purchases, and anything with a strict return policy. Put those receipts in a small envelope, not loose in the bag. The photo is your backup and search tool; the paper may still be the ticket for the actual refund.
File the Receipt Before It Becomes a Mystery Strip of Paper
The best time to file a receipt is before it goes into a pocket, purse, glove box, or kitchen pile. Once it joins the household paper drift, it becomes harder to connect the strip to the item.
Use a 60-second filing routine: capture, verify, name, tag, and save. This is short enough to do in the parking lot before starting the car, and it prevents the familiar Sunday-night question: what was this receipt even for?
A naming format you can copy
Use this structure:
YYYY-MM-DD_Retailer_Item_or_Category
For example:
- 2026-01-04_Target_KidsCoat
- 2026-01-04_DepartmentStore_WinterJacket
- 2026-01-04_HardwareStore_PaintSupplies
Use item names when one returnable item matters. Use categories when the receipt covers a mixed basket: groceries, fuel, pharmacy, school supplies, holiday gifts, home improvement, or warranty items.
The category is not meant to be perfect. It is meant to make search possible when the return deadline is close and you remember only the store, month, or type of purchase.
Main Point: A plain filename beats a beautiful system you avoid using. Name the receipt quickly, then move on.
Trouble-Proof the Receipts Most Likely to Fail
Some receipts deserve special handling because they are already halfway to being unreadable.
Faded thermal receipts
Photograph thermal receipts the same day, especially after buying returnable gifts, electronics, seasonal clothing, or anything stored in a warm car. Keep the paper away from heat, direct sun, and windowsills. A receipt left on a sunny dashboard for a couple of days can turn from readable proof into a pale gray strip.
Crumpled receipts
If the text is distorted, flatten the receipt before photographing it. Put it under a book, clean mug, wallet, or another flat object weighing a pound or two for about a minute. That short pause often straightens the barcode and item lines enough for the camera to focus.
This is one of those small household tricks that feels fussy until it saves a return.
Email receipts and pickup confirmations
Email receipts are easier to search, but they can still scatter across inboxes, retailer apps, and order portals. Save the email as a PDF or take a screenshot of the order confirmation. For online order pickups, also capture the paper pickup receipt if it includes return-specific information, because the pickup slip may show details the email does not.
- Save the order confirmation in the same receipt folder as store receipts.
- Name it with the same date-retailer-category format.
- Keep screenshots that show the order number and return instructions.
- Photograph any pickup receipt before it gets folded into the shopping bag.
Expert Tip: For gift purchases, add a tag or filename word like Gift, Holiday, or Birthday. Future you will search for the occasion before remembering the exact item name.
Copy This: A Two-Minute Routine After Buying a Returnable Gift
Here is the whole routine using one concrete case: you buy a winter jacket as a holiday gift from a department store, and the store prints a standard receipt with a return barcode at the bottom.
- Before leaving the checkout area, place the receipt on the counter or another flat surface. Smooth the curl with one hand, hold the phone directly overhead, and photograph the full receipt so all four corners are visible.
- Open the photo before putting the receipt away. Zoom in and confirm that the store name, purchase date, jacket line item, total, transaction number, and return barcode are readable.
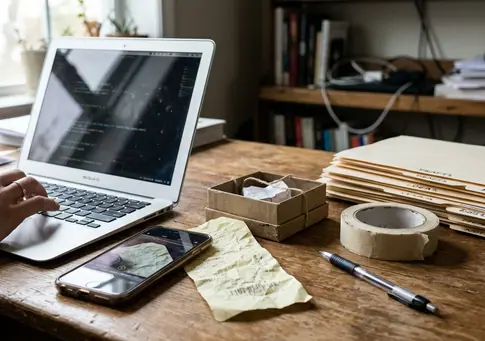
Then save it as 2026-12-18_DepartmentStore_WinterJacket_Gift in your Receipts folder or album. Put the paper receipt inside the gift box envelope or tape it to a gift-receipt sleeve. If the retailer has a 30-day or 90-day return window, set a calendar reminder a few days before the deadline with this note: Check winter jacket return: receipt saved as 2026-12-18_DepartmentStore_WinterJacket_Gift.