
A Shared Receipt Can Carry Your Home Address
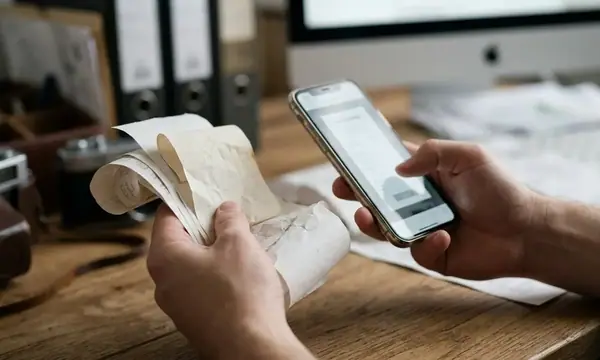
A receipt can put your delivery address and purchase details in the same file. Send it to a gift recipient, a reimbursement contact, or a public forum, and those details travel together.
A shopper opening a lamp receipt to share its price may focus on the item description and total. The delivery address sits above them; an account identifier appears farther down. That ordinary layout creates an easy mistake: sharing the whole document when only a small part answers the recipient’s question.
The same problem arises when a black rectangle appears to cover an address. In a PDF, an annotation can sit over text that remains selectable underneath. A translucent marker on a receipt photo can leave letters visible.
A dependable workflow starts before editing: preserve the original, decide what the recipient needs, redact a separate copy, and inspect the exported attachment. Each step handles a different part of receipt privacy.
Save the Complete Receipt Before Making a Share Copy
Keep the complete original in your receipt tracking app. Transaction identifiers, item descriptions, and scannable codes may matter when the retailer looks up the purchase. Receipt organization should preserve that evidence alongside the purchase date and return deadline.
Start with the app’s export or duplicate function. Give the working file a distinct name, such as lamp-receipt-share.pdf, so it stands apart from the original in an attachment picker.
- Confirm that the original receipt opens in the tracking app.
- Keep its purchase date and return deadline associated with that record.
- Export or duplicate the receipt into a separate working file.
- Edit that copy while leaving the stored original intact.
Once this becomes routine, use a consistent naming pattern for other purchases. A clear filename helps prevent attachment mistakes—especially when the original and edited copy have nearly identical thumbnails.
Choose Receipt Details for the Person Receiving Them
What does the recipient actually need to verify? A public price discussion needs much less information than an expense review or a retailer return request.
| Purpose | Useful transaction details | Sensitive fields to review |
|---|---|---|
| Public purchase post | Relevant item description and price; merchant or purchase date when they explain the comparison. | Remove contact details, delivery and billing addresses, account identifiers, payment details, transaction codes, barcodes, and QR codes. |
| Private reimbursement submission | Check requirements for merchant, purchase date, item descriptions, taxes, total, purchaser identity, and payment evidence. | Review unrelated purchases, addresses, loyalty identifiers, and payment details beyond what the reviewer requires. |
| Retailer return request | Follow the retailer’s requirements for purchase details, order or transaction identifiers, and scannable codes. | Review unrelated personal information while preserving the fields needed to locate the purchase. |
For reimbursement, check the submission instructions before editing. Purchaser identity and payment evidence can serve a verification purpose, so removing them automatically may create another round of paperwork.
A redacted copy may not meet a retailer’s proof-of-purchase requirements, so check what it accepts before sending.
Read machine-readable areas as information too. Barcodes and QR codes can encode order identifiers or customer lookup details. On a public copy, covering the printed order number while leaving its barcode visible leaves another route to transaction information.
Remove Receipt Content Beneath the Visible Cover
Visual coverage and content removal are separate operations. Drawing a shape over PDF text can leave the underlying characters available to selection and copying. Blurring or using a translucent marker on an image can also leave information readable.
Apply PDF redactions before saving
Use a dedicated redaction function. Mark each sensitive field, apply the redactions, and save a new output file. Follow the tool’s instructions for removing hidden information and document metadata as part of that process.
Review the entire page before applying the changes. An address may appear in both a delivery block and a billing summary. Include associated identifiers and machine-readable codes when the sharing purpose calls for their removal.
Replace pixels in a receipt photo
Work on a duplicate image with an editor that permanently replaces the selected pixels with an opaque fill. Export a fresh image file and keep the editable project separate from the attachment.
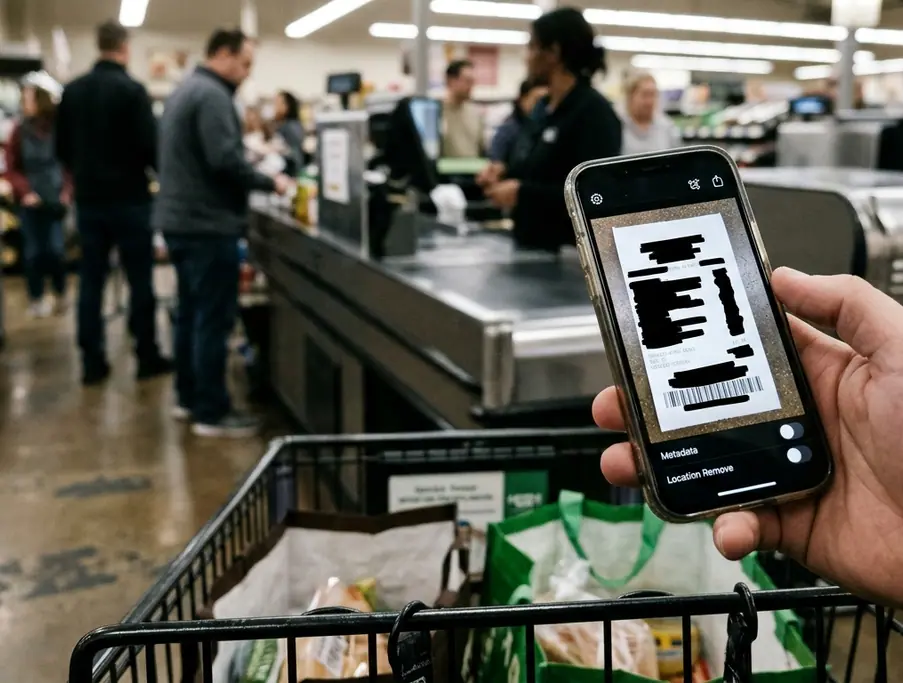
Check the export controls for metadata removal, including location information. For a more thorough workflow, treat visible content and file metadata as separate checks: removing an address from the picture does not address information stored elsewhere in the file.
Inspect the Export That Will Become the Attachment
Open the exported receipt in a separate viewer. The editor’s working document can contain layers and editing controls that differ from the file the recipient will open.
- Zoom into every redacted area. Check the borders for exposed letters, adjacent apartment numbers, and neighboring lines.
- Inspect page edges and every additional page for repeated addresses or identifiers.
- For PDFs, search for the removed name, address, order number, and other identifiers.
- Select and copy the PDF text into a plain-text document, then inspect it for removed content.
- Check comments, attachments, and layers wherever the viewer provides those controls.
If a check reveals sensitive content, return to the working copy, correct the redaction, and export again. Repeat the inspection on that new file.
Finally, compare the attachment’s filename with the inspected export. This last check connects the editing work to the actual send action.
Prepare a Lamp Receipt for a Public Price Discussion
You want to post a lamp receipt so other shoppers can compare its price. Work through the file in this order:
- Preserve the purchase record. Keep the complete receipt, purchase date, and return deadline together in your tracking app.
- Create the public copy. Export a separate PDF named lamp-receipt-share.pdf. Keep the lamp description and relevant price visible.
- Remove identifying details. Apply PDF redactions to your name, addresses, contact details, account identifiers, payment details, transaction codes, and barcodes. Check for repeated shipping information elsewhere on the receipt.
- Export and inspect. Save a new output after applying redactions and removing hidden information. Open it separately, examine the covered areas, search for removed details, and copy its text into a plain-text document.
- Attach the inspected file. Select lamp-receipt-share.pdf and check its preview. The public post now shows the lamp and its price, while the complete purchase record stays in your tracking app for a return.